python进程池和线程池学习
前几天学习了python的多进程通信,是python标准库中支持的多进程并发模块multiprocessing ,主要学习了它常用的两个类和几种进程间通信的方法,本文基于这一点继续拓展python的并发中的线程池和进程池。
多进程和多线程
按照书上的话来说“进程是资源分配的最小单位,线程是CPU调度的最小单位 ”但在实际中要分清楚它们的区别与联系才可以运用好多线程和多进程。多进程与多线程的区别 进程是程序在计算机上的一次执行活动。当你运行一个程序,你就启动了一个进程。显然,程序是死的(静态的),进程是活的(动态的)。进程可以分为系统进程和用户进程。凡是用于完成操作系统的各种功能的进程就是系统进程,它们就是处于运行状态下的操作系统本身;所有由你启动的进程都是用户进程。进程是操作系统进行资源分配的单位。在Windows下,进程又被细化为线程,也就是一个进程下有多个能独立运行的更小的单位。 在同一个时间里,同一个计算机系统中如果允许两个或两个以上的进程处于运行状态,这便是多任务。
- 先贴一张图来看多线程和多进程再不同维度的对比:
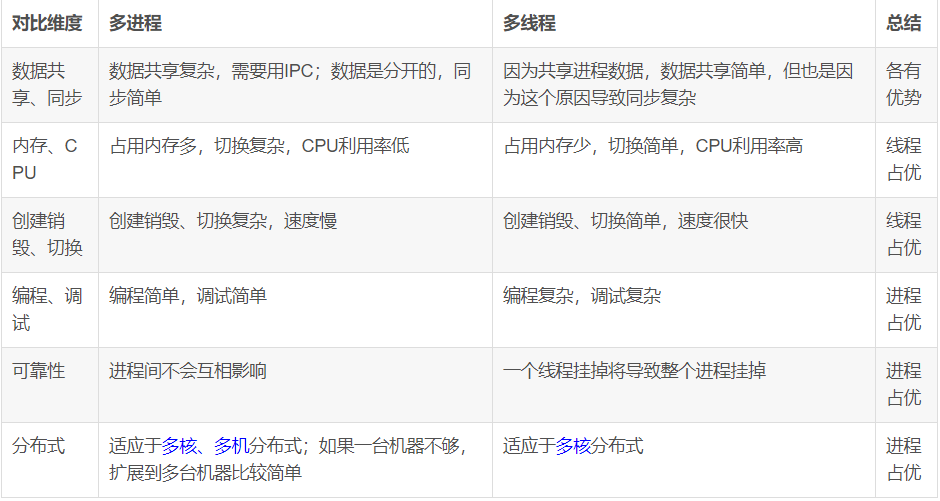
- 基于上图总结:
- 需要频繁创建销毁的优先使用多线程,常见的是web服务器,来一个请求,建立一次连接、通信结束以后销毁连接,所以要使用多线程,如果使用多进程,创建和销毁的代价非常大。
- 需要进行大量计算的优先使用多线程,由于大量计算需要消耗大量的CPU资源、切换频繁,如图像处理、算法处理,使用多线程切换简单,CPU的利用率高。
- 处理关系相关性强的优先用多进程、相关性弱的优先用多线程。比如:服务器进行消息的收发和消息的处理,相关性不是很强,使用多进程可以提高并发速度;针对消息的处理有消息解码、业务处理等多种方式,这个时候需要数据间的共享,使用多线程会提高并发速度。
- 基于分布式的多核多机的优先使用多进程。
- 满足不同的需求,结合它们的特性选用合理的方式。
通过队列实现多线程和多进程的并发
使用multiprocessing.JoinableQueue实现多进程并发
JoinableQueue是multiprocessing的一种数据结构,它本质上是一个FIFO队列,它与一般队列的不同在于它的多进程是安全的,会自动解决互斥和死锁的问题。JoinableQueue主要可以用来存放执行的任务和收集任务的执行结果。
通过多进程并发打印26个字母
1
2
3
4
5
6
7
8
9
10
11
12
13
14
15
16
17
18
19
20
21
22
23
24
25
26
27
28
29
30
31
32
33
34
35
36
37
from multiprocessing import JoinableQueue
import multiprocessing
import random, time
def read(q):
while True:
try:
#这里是多进程并发的要点,q是一个JoinableQueue对象,支持get方法读取第一个元素,如果q中没有元素,进程就会阻塞,直至q中被存入新元素
value = q.get()
print('GET {} from queue.'.format(value))
time.sleep(random.random())
finally:
q.task_done()
#通过多进程将26个字母打印出来
def main():
#定义一个存放任务的JoinableQueue对象
q = multiprocessing.JoinableQueue()
#实例化两个Process对象(每个对象对应一个子进程)target是实现每个任务工作中的具体函数,args是target函数的参数
pw1 = multiprocessing.Process(target=read, args=(q,))
pw2 = multiprocessing.Process(target=read, args=(q,))
#将子进程设为守护进程———在主进程结束后随之结束
pw1.daemon = True
pw2.daemon = True
#子进程就开始独立于父进程运行了,它会在单独的进程里调用target引用的函数——在这里即read函数,它是一个死循环,将参数q中的数一一读取并打印出来
pw1.start()
pw2.start()
#实际上start执行以后进程就阻塞了,由于JoinableQueue对象没有传入元素,等待传入元素才开始执行
for x in [chr(ord('A')+i) for i in range(26)]:
q.put(x)
try:
#这里是查询q中的数据是否已经读完,如果没有读完阻塞程序,等待q中的数据读完才开始继续执行
q.join()
except KeyboardInterrupt:
print('stopped by hand')
if __name__ == "__main__":
main()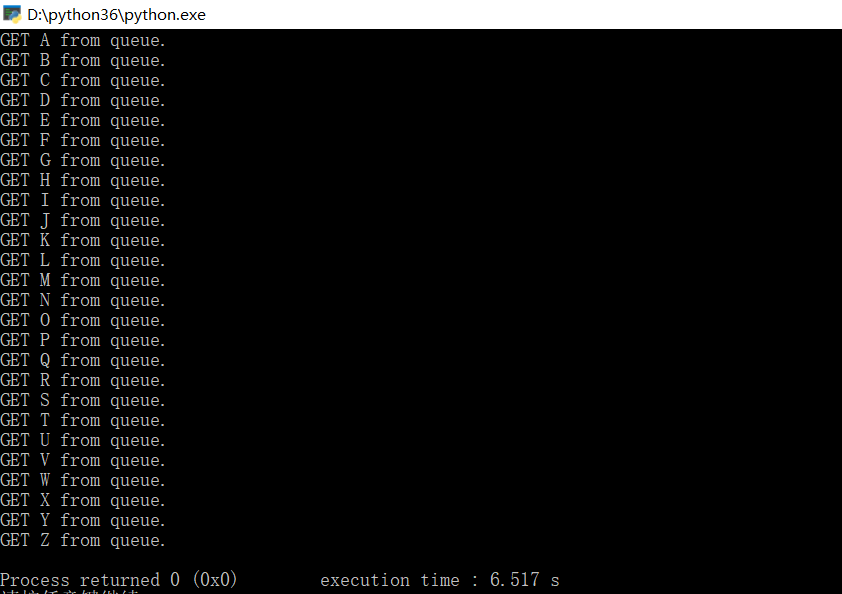
通过这个实例可以看出python通过JoinableQueue实现多进程并发的优雅
通过队列实现多线程的并发
程序的实现与多进程差别不大,只是这里不用multiProcessing.JoinableQueue进行队列的操作,一般的队列就可以满足要求
通过队列实现多线程并发实例:打印26个字母(代码和多进程的差别并不大)
1
2
3
4
5
6
7
8
9
10
11
12
13
14
15
16
17
18
19
20
21
22
23
24
25
26
27
28
29
import time, random
import threading, queue
def read(q):
while True:
try:
value = q.get()
print('GET {} from queue.'.format(value))
time.sleep(random.random())
finally:
q.task_done()
def main():
q = queue.Queue()
pw1 = threading.Thread(target=read, args=(q,))
pw2 = threading.Thread(target=read, args=(q,))
pw1.daemon = True
pw2.daemon = True
pw1.start()
pw2.start()
for x in [chr(ord('A')+i) for i in range(26)]:
q.put(x)
try:
q.join()
except KeyboardInterrupt:
print('stopped by hand')
if __name__ == "__main__":
main()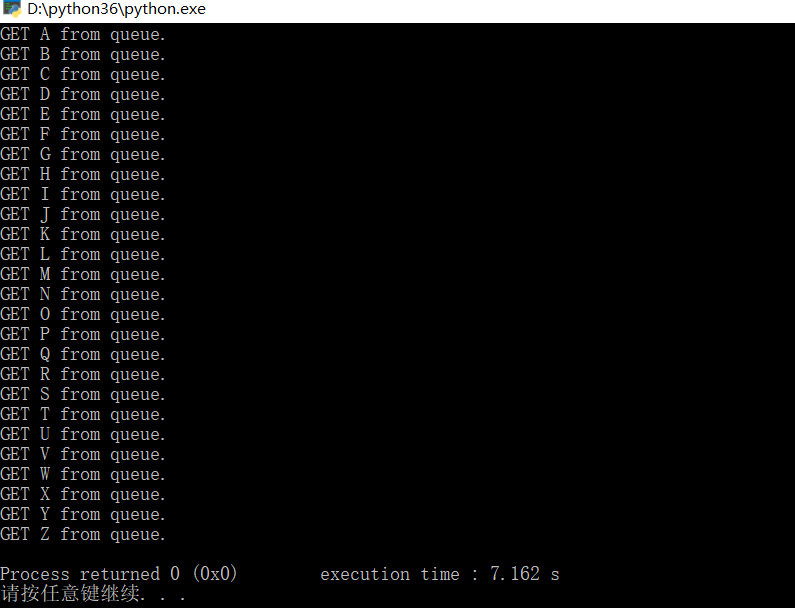
多线程补充
既然说到了用队列实现多线程并发,再补充通过threading初始化,不调用队列实现多线程并发,这里要多出一个线程不安全的问题,用线程锁来解决
不设计线程锁实例:(以前测试的时候出现线程不安全的问题,现在运行以后没有了,应该是python版本的修复)
1
2
3
4
5
6
7
8
9
10
11
12
13
14
15
16
17
18
19
20
21
import threading
class MyThread(threading.Thread):
def __init__(self):
threading.Thread.__init__(self)
def run(self):
global n
print(n,self.name)
n += 1
if "__main__" == __name__:
n = 0
ThreadList = []
for i in range(0, 10):
t = MyThread()
ThreadList.append(t)
for t in ThreadList:
t.start()
for t in ThreadList:
t.join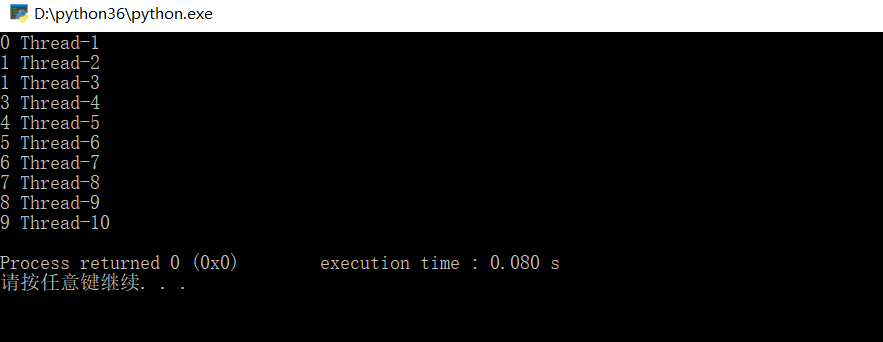
设计线程锁的实例(尽管现在测试没有出现线程不安全的问题,还是将它作为补充)
1
2
3
4
5
6
7
8
9
10
11
12
13
14
15
16
17
18
19
20
21
22
23
24
25
import threading, time
class MyThread(threading.Thread):
def __init__(self):
threading.Thread.__init__(self)
def run(self):
global n, lock
time.sleep(1)
if lock.acquire():
print(n , self.name)
n += 1
lock.release()
if "__main__" == __name__:
n = 1
ThreadList = []
lock = threading.Lock()
for i in range(1, 200):
t = MyThread()
ThreadList.append(t)
for t in ThreadList:
t.start()
for t in ThreadList:
t.join()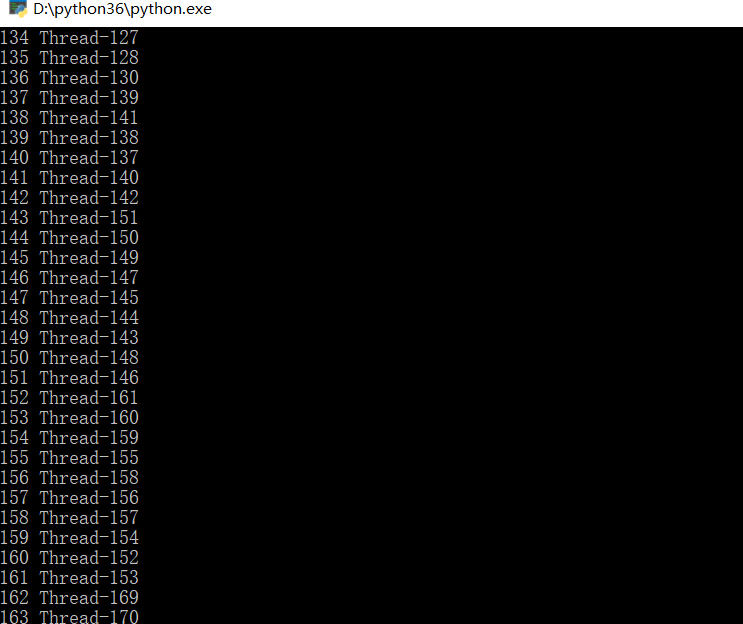
通过进程池和线程池来实现并发设计
通过进程池和线程池实现并发设计,也算是对上一篇多进程学习的补充与应用
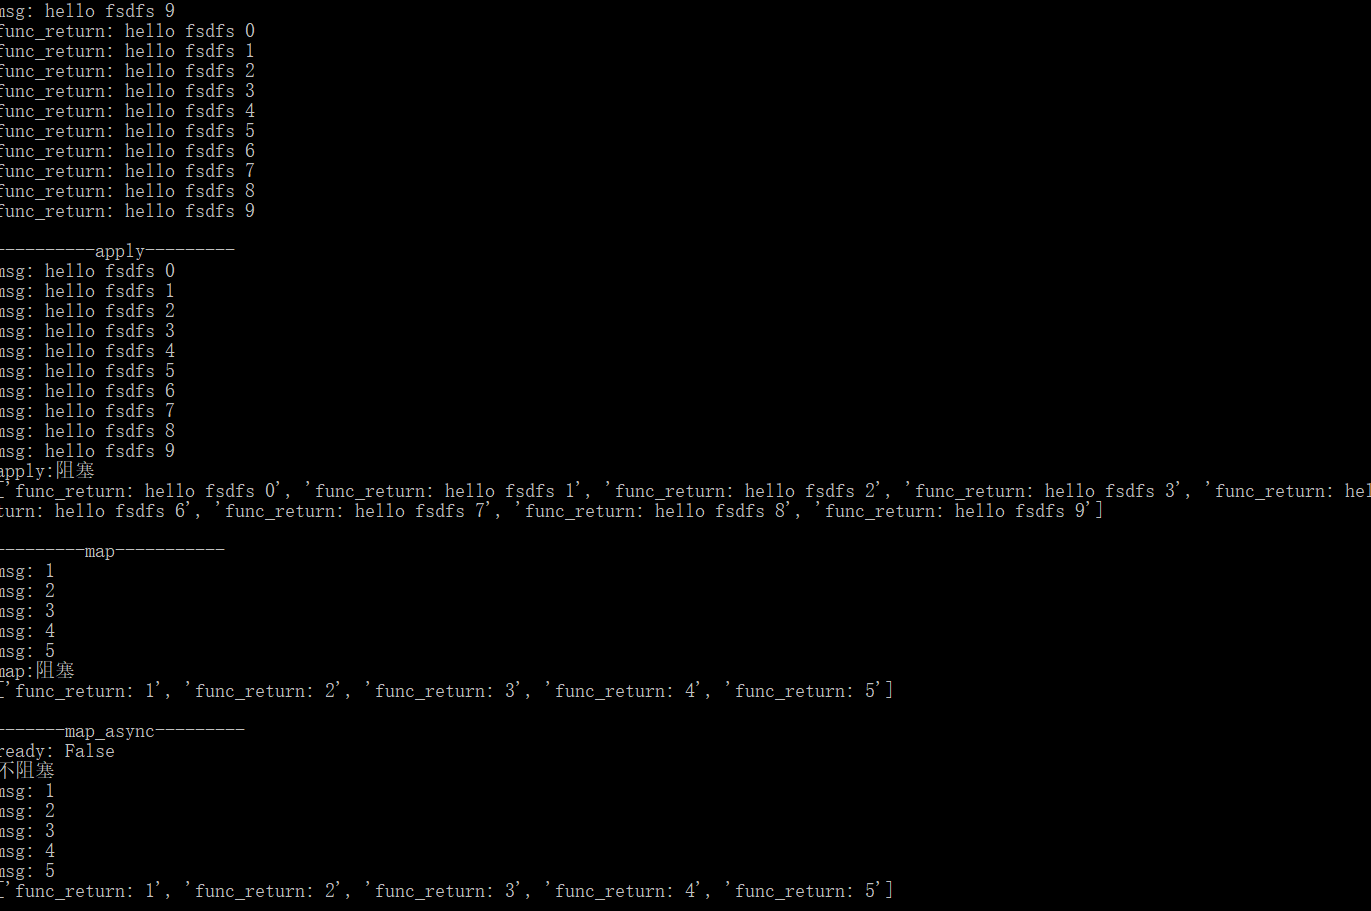
进程池
进程池的使用有四种方式:apply_async、apply、map_async、map。其中apply_async和map_async是异步的,也就是启动进程函数之后会继续执行后续的代码不用等待进程函数返回。apply_async和map_async方式提供了一些获取进程函数状态的函数:ready()、successful()、get()。join()放在close()后面,是多进程中说到过的
- 通过一个实例来体现Python的进程池中的四种方法的特点,主要的区别是在异步
1 | import multiprocessing |
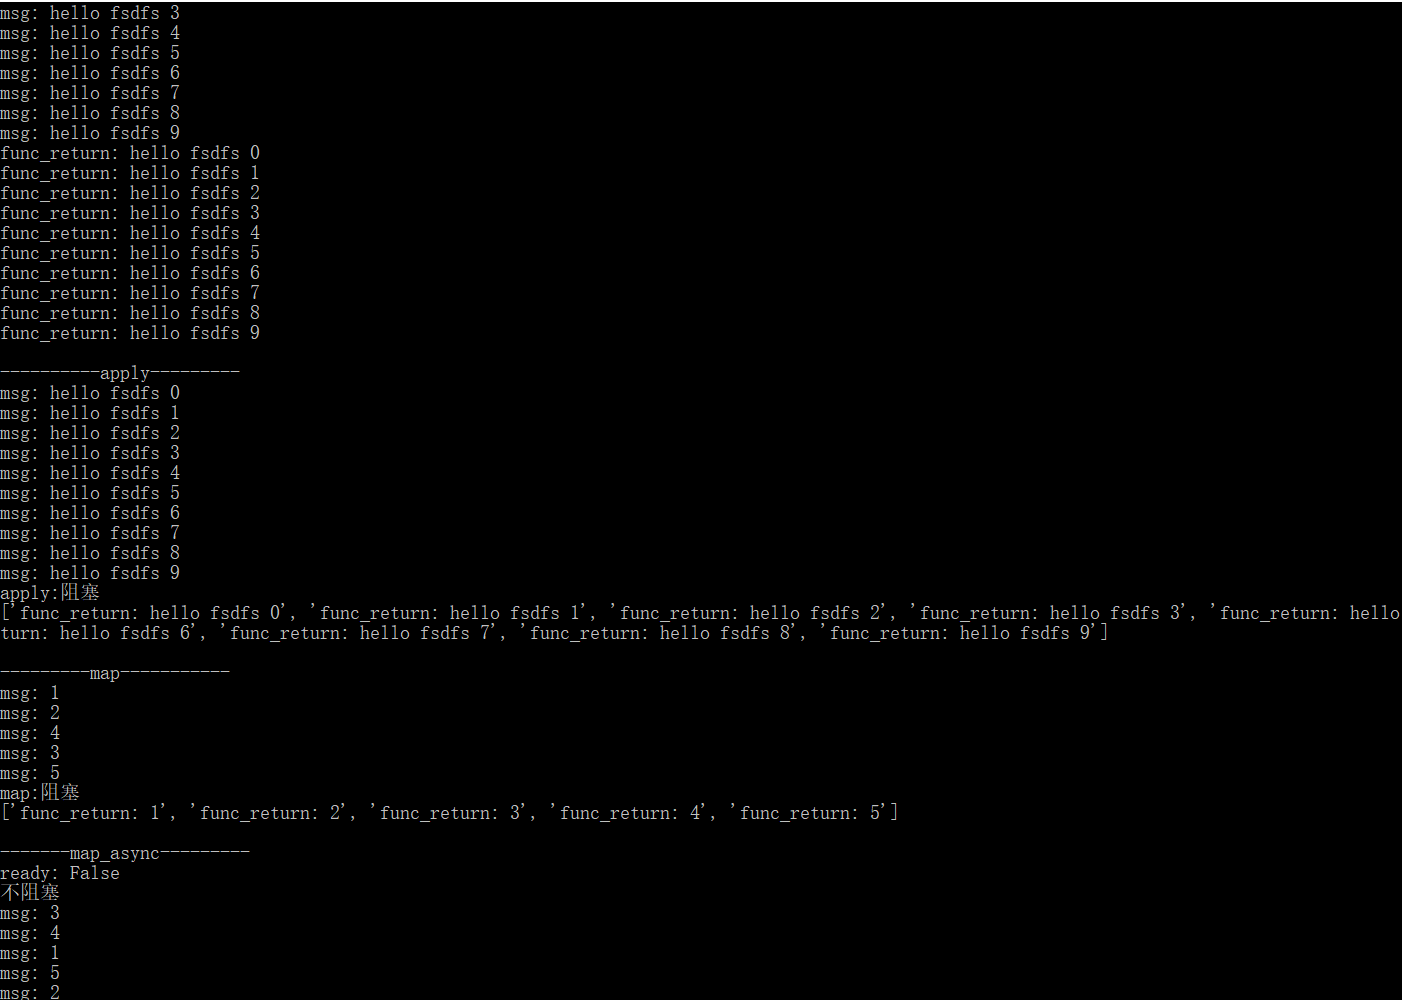
线程池
线程池使用multiprocessing提供的线程池,线程池的使用有四种方式:apply_async、apply、map_async、map,代码与进程池类似。下面直接贴代码,实现的过程与进程池基本一致
1 | from multiprocessing.dummy import Pool as ThreadPool |
对比
通过对比可以发现线程池和进程池的代码差别并不是很大,和前面通过队列实现并发一样,所以在选取以何种方式做并发时还是要结合实际的情况
实例应用
学习了这么多,还是要进行实际运用,接下来利用线程池做一个高并发的爬虫,同时也可以巩固一下爬虫。这个练习是通过线程池结合队列爬取表情包(emmm),以斗图啦网站为例(https://www.doutula.com)
分析页面,在最新表情中表情包最多,一共有1655页,每一页的连接为:https://www.doutula.com/photo/list/?page=1,变动的知识page={},所以通过队列来进行遍历。然后分析单个页面的元素:每一个表情包都是由一个a标签来构成,我们需要的是图片链接和表情包名称
当然,我们查看的时候看到的是浏览器渲染以后的页面,所以元素可能会是动态生成的;如果要查看未渲染之前的图片,直接查看源码,也是一样的。
分析一下图片的连接:该网站使用新浪的图床
ws1.sinaimg.cn,多查看几个图片地址发现不一定是ws1子域名 ,可能是是任何ws开头,后面跟数字 ,出现这种情况的原因是:根据HTTP/1.1协议规定,浏览器客户端在同一时间,针对同一域名下的请求有一定数量限制。超过限制数目的请求会被阻塞 ,所以利用不同的子域来绕过限制。这一点其实不影响我们(假如你的正则是直接匹配图片完整连接)经过测试,网站没有做反爬,接下来就简单了,步骤如下:
- 获取单个页面用正则匹配img标签的图片地址和图片描述
- 将获取到的表情包下载保存
- 改变page参数爬取所有的列表页面
当然,重要的是用上线程池,为了提高爬取速度,再加上进程的通信
代码实现:
设置图片保存的文件夹
1
BASE_DIR = os.path.join(os.path.dirname(__file__) + '/pic')
创建三个队列,分别用于图片任务、页面任务、日志记录,用Queue进行进程间的通信
1
2
3picqueue = multiprocessing.Queue()
pagequeue = multiprocessing.Queue()
logqueue = multiprocessing.Queue()创建两个线程池,分别用于图片任务和页面任务
1
2picpool = ThreadPool(30)
pagepool = ThreadPool(3)用正则去匹配图片信息,并将获取到的图片链接和描述入队
1
2
3
4
5
6
7
8def get_imglist(html):
pattern = re.compile('data-original="(.*?)".*?<p style="display: none">(.*?)</p>',re.S)
img_list = re.findall(pattern,html)
for url, name in img_list:
#将图片的后缀加到name中,方便后面的保存
name = name + url[-4:]
logqueue.put(url)
picqueue.put((name,url))获取页面的源码(尽管没有限制,但还是加上UA头和cookie)
1
2
3
4
5
6
7
8
9
10
11
12def get_page():
#进行会话的保持,确保连接的是同一个页面,将同一个页面的爬取完以后再连接下一个页面
http = requests.Session()
headers = {
'User-Agent':'Mozilla/5.0 (Macintosh; Intel Mac OS X 10_11_4) AppleWebKit/537.36 (KHTML, like Gecko) Chrome/52.0.2743.116 Safari/537.36',
'Cookie':''
}
while True:
papeid = pagequeue.get()
response = http.get('http://www.doutula.com/photo/list/?page={}'.format(papeid), headers=headers,timeout=2)
# print(response.text)
get_imglist(response.text)保存表情包:
1
2
3
4
5
6
7
8
9
10
11
12
13def save_file():
#判断当前位置是唯一的连接
http = requests.Session()
while True:
name, url = picqueue.get()
#判断是否已经下载该图片
if not os.path.isfile(os.path.join(BASE_DIR, name)):
# req = http.get(url)
try:
with open(os.path.join(BASE_DIR,name),'wb+') as f:
f.write(http.get(url).content)
except:
error.append([name,url])主函数(启动线程池,队列等)
1
2
3
4
5
6
7
8
9
10
11
12
13
14
15
16
17
18ef main():
if not os.path.isdir(BASE_DIR):
os.mkdir(BASE_DIR)
# get_page()
#将页码放入队列中
for i in range(1,1656):
# print(type(i))
pagequeue.put(i)
#启动页面任务池
for i in range(3):
pagepool.apply_async(get_page)
#启动图片任务池
for i in range(30):
picpool.apply_async(save_file)
while True:
print(logqueue.get(),picqueue.qsize(),pagequeue.qsize())完整代码如下:
1
2
3
4
5
6
7
8
9
10
11
12
13
14
15
16
17
18
19
20
21
22
23
24
25
26
27
28
29
30
31
32
33
34
35
36
37
38
39
40
41
42
43
44
45
46
47
48
49
50
51
52
53
54
55
56
57
58
59
60
61
62
63
64
65
66
67
68
69
70
71
72
73
74
75
76
77import re
import os
import requests
import multiprocessing
from multiprocessing.pool import ThreadPool
#设置图片保存的文件夹,如果运行的py文件存在,os.path.dirname(__file__)输出完整的目录,如果是相对路径,输出为空
BASE_DIR = os.path.join(os.path.dirname(__file__) + '/pic')
# print(BASE_DIR)
#创建三个队列,分别用于图片任务、页面任务、日志记录,用Queue进行进程间的通信
picqueue = multiprocessing.Queue()
pagequeue = multiprocessing.Queue()
logqueue = multiprocessing.Queue()
#创建两个线程池,分别用于图片任务和页面任务
picpool = ThreadPool(30)
pagepool = ThreadPool(3)
error = []
#用正则去匹配图片信息
def get_imglist(html):
pattern = re.compile('data-original="(.*?)".*?<p style="display: none">(.*?)</p>',re.S)
img_list = re.findall(pattern,html)
for url, name in img_list:
name = name + url[-4:]
logqueue.put(url)
picqueue.put((name,url))
def get_page():
#进行会话的保持
http = requests.Session()
headers = {
'User-Agent':'Mozilla/5.0 (Macintosh; Intel Mac OS X 10_11_4) AppleWebKit/537.36 (KHTML, like Gecko) Chrome/52.0.2743.116 Safari/537.36',
'Cookie':''
}
while True:
papeid = pagequeue.get()
response = http.get('http://www.doutula.com/photo/list/?page={}'.format(papeid), headers=headers,timeout=2)
# print(response.text)
get_imglist(response.text)
def save_file():
#判断当前位置是唯一的连接
http = requests.Session()
while True:
name, url = picqueue.get()
#判断是否已经下载该图片
if not os.path.isfile(os.path.join(BASE_DIR, name)):
# req = http.get(url)
try:
with open(os.path.join(BASE_DIR,name),'wb+') as f:
f.write(http.get(url).content)
except:
error.append([name,url])
def main():
if not os.path.isdir(BASE_DIR):
os.mkdir(BASE_DIR)
# get_page()
#将页码放入队列中
for i in range(1,1656):
# print(type(i))
pagequeue.put(i)
#启动页面任务池
for i in range(3):
pagepool.apply_async(get_page)
#启动图片任务池
for i in range(30):
picpool.apply_async(save_file)
while True:
print(logqueue.get(),picqueue.qsize(),pagequeue.qsize())
if __name__ == "__main__":
main()运行结果:
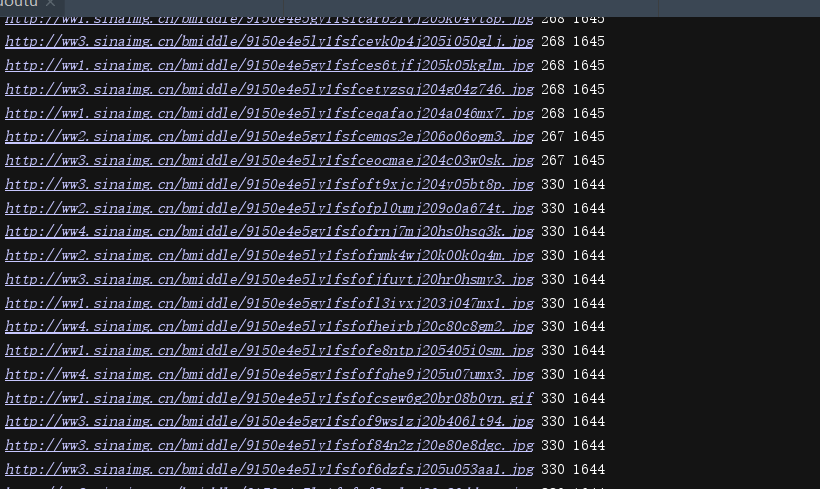

以上是通过正则表达式来做的,下面稍加修改,用解析库来做:
1
2
3
4
5
6
7
8
9
10
11
12
13
14
15
16
17
18
19
20
21
22
23
24
25
26
27
28
29
30
31
32
33
34
35
36
37
38
39
40
41
42
43
44
45
46
47
48
49
50
51
52
53
54
55
56
57
58
59
60
61
62
63
64
65
66
67
68
69
70
71
72
73
74
75
76
77
78
79import os
import requests
import multiprocessing
from bs4 import BeautifulSoup
from multiprocessing.pool import ThreadPool
BASE_DIR = os.path.join(os.path.dirname(__file__) + '/pic')
# print(BASE_DIR)
#创建三个队列,分别用于图片任务、页面任务、日志记录,用Queue进行进程间的通信
picqueue = multiprocessing.Queue()
pagequeue = multiprocessing.Queue()
logqueue = multiprocessing.Queue()
#创建两个线程池,分别用于图片任务和页面任务
picpool  = ThreadPool(30)
pagepool = ThreadPool(3)
error = []
def get_imglist(html):
soup = BeautifulSoup(html,'lxml')
img_list = soup.find_all('a',class_='col-xs-6 col-sm-3')
# print(img_list)
for imgs in img_list:
try:
url = imgs.find('img')['data-original']
name = imgs.find('p',style='display: none').text + url[-4:]
except:
pass
logqueue.put(url)
picqueue.put((name,url))
def get_page():
#进行会话的保持
http = requests.Session()
headers = {
'User-Agent':'Mozilla/5.0 (Macintosh; Intel Mac OS X 10_11_4) AppleWebKit/537.36 (KHTML, like Gecko) Chrome/52.0.2743.116 Safari/537.36',
'Cookie':''
}
while True:
papeid = pagequeue.get()
response = http.get('http://www.doutula.com/photo/list/?page={}'.format(papeid), headers=headers,timeout=2)
get_imglist(response.text)
def save_file():
    #判断当前位置是唯一的连接
    http = requests.Session()
    while True:
        name, url = picqueue.get()
        #判断是否已经下载该图片
        if not os.path.isfile(os.path.join(BASE_DIR, name)):
            # req = http.get(url)
            try:
                with open(os.path.join(BASE_DIR,name),'wb+') as f:
                    f.write(http.get(url).content)
            except:
                error.append([name,url])
def main():
if not os.path.isdir(BASE_DIR):
os.mkdir(BASE_DIR)
#将页码放入队列中
for i in range(1,1656):
# print(type(i))
pagequeue.put(i)
#启动页面任务池
for i in range(3):
pagepool.apply_async(get_page)
#启动图片任务池
for i in range(30):
picpool.apply_async(save_file)
while True:
print(logqueue.get())
if __name__ == "__main__":
main()
总结
本文是对python实现并发的学习总结,具体有python进程并发编程的几种方式以及它们之间的关联与区别,通过实例来体现与利用,最后的实例加上了爬虫的内容,这是再学习安全之余对于编程的学习,安全最后还是离不开代码,相辅相成。